Undermount Sink Installation Services for Property Owners
Visitors can learn about how local contractors handle undermount sink installation services and compare options to find the right professional.
- - Homeowners seeking professional undermount sink installation for kitchens or bathrooms.
- - Property managers coordinating updates or repairs to multiple residential or commercial spaces.
- - Renovation contractors looking to connect with local specialists for precise undermount sink setup.
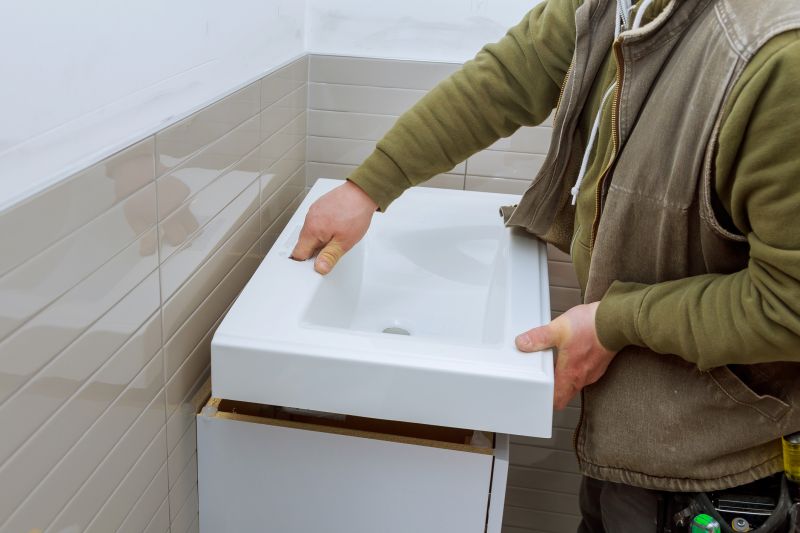

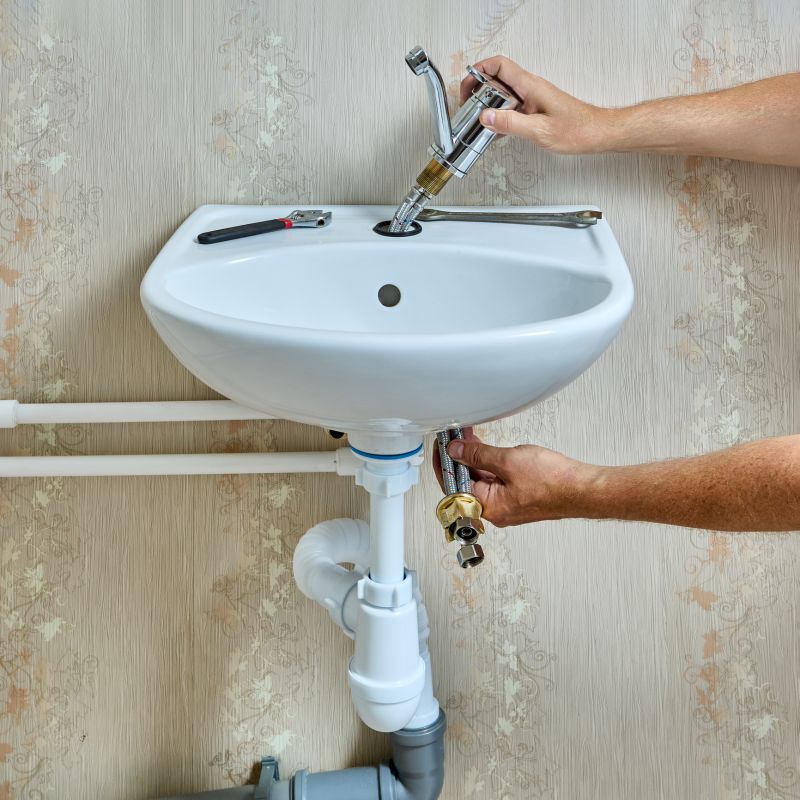
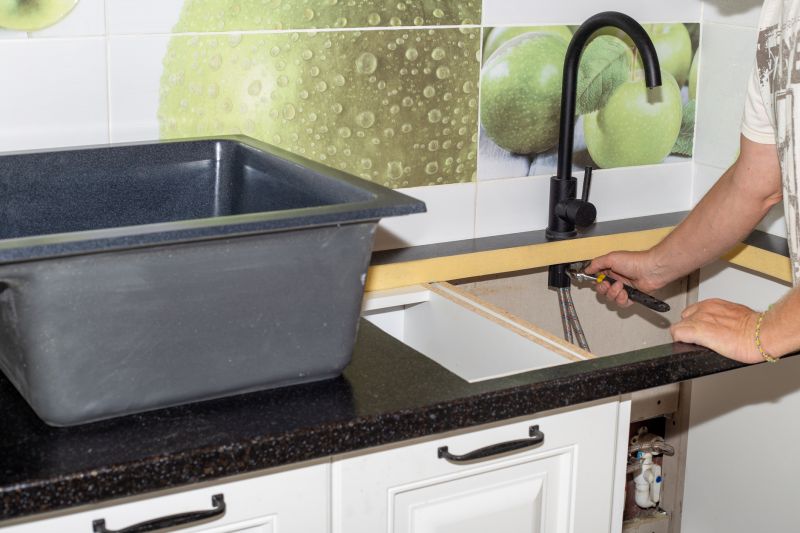
Undermount sink installation is a common upgrade for homeowners looking to enhance the functionality and aesthetic appeal of their kitchens or bathrooms. This process involves securely mounting a sink beneath the countertop surface, creating a seamless look that makes cleaning easier and provides a sleek appearance. Local contractors who specialize in this service are experienced in handling different countertop materials, ensuring that the installation is both durable and visually appealing. Property owners often seek professional help when replacing or upgrading their undermount sinks to ensure proper fit, secure mounting, and a clean finish.
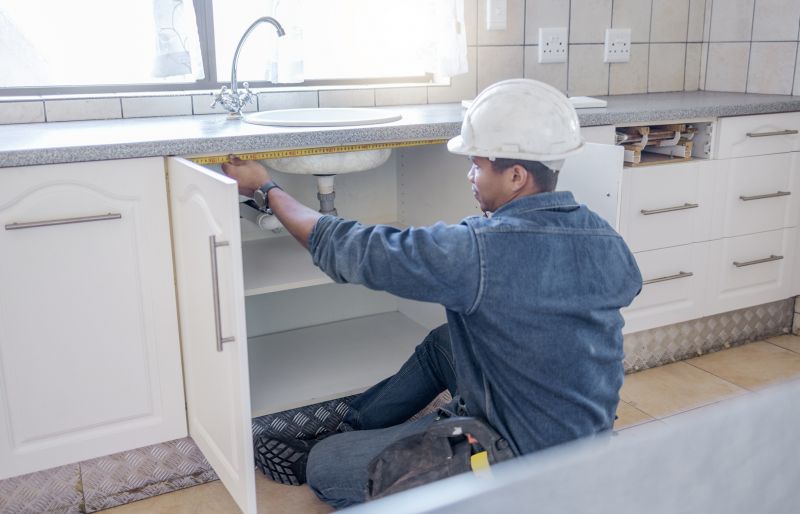
Connecting with local service providers for undermount sink installation can help property owners find experienced professionals suited to their specific needs. These contractors typically handle tasks such as measuring, securing, and sealing the sink to prevent leaks and ensure proper drainage. Whether installing a new sink or replacing an existing one, local pros can provide guidance on the best options for different kitchen or bathroom setups. Property owners can expect straightforward, practical service that focuses on delivering a well-executed installation tailored to their space.
This guide provides helpful information to understand the key aspects of undermount sink installation. It assists in comparing local service providers and understanding what to expect from professionals in your area. The goal is to help visitors gather the basics needed to connect with qualified contractors for their project.